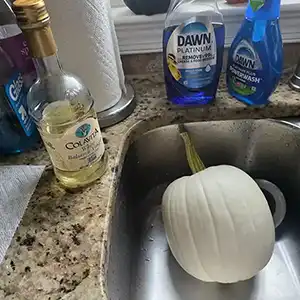
Step 1: Sanitize the skin
Using a sponge, I wiped down the exterior with warm water and white vinegar. You can also use 1 TBSP of bleach per gallon of water. This kills any lingering bacteria and mold spores which will significantly extend the life of our pumpkin. Once done, dry it completely.
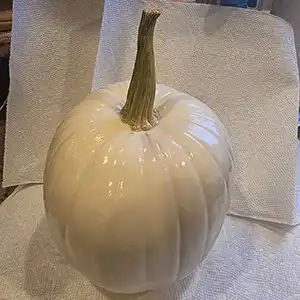
Step 2: Seal the Pumpkin
Pumpkin skin is naturally waxy which can make water-based acrylic paint bead up or peel off. Spray a light coat of clear matte acrylic sealant (you can also brush on a layer of Mod Podge) before applying your red and white paint.
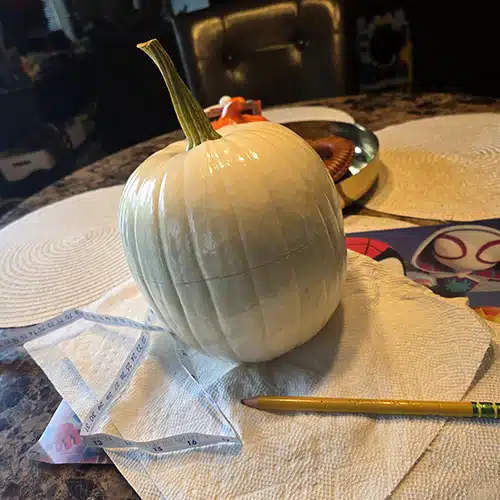
Step 3: Draw a Line
I let the acrylic sealer set and dry for 24 hours before I used a pencil to drew a line around the center of the pumpkin. I used a tape measure to ensure I got to as close as the center as possible. Since the pumpkin skin was covered in acrylic sealer, I had to press pretty hard to break through it in order to get the lead of the pencil to show up on the pumpkin itself. I made it visible enough so I can see where exactly the middle of the pumpkin was so I can paint my top and bottom half properly.
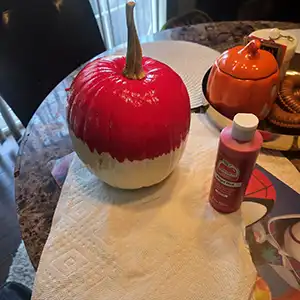
Step 4: Paint the Top Half of Pumpkin Red
I used Bright Red Apple Acrylic paint for the top half of the pumpkin. I used three coats of red paint for the top of my Pokemon Ball pumpkin. I let each coat dry for an hour before applying a new fresh coat. By applying three coats of red paint, it really covered any blemishes to the pumpkin and really gave it a nice apple red color once dried. It did dry in a matte color but we will add the gloss to it later on in this timeline. Also, do not worry about getting the paint exactly on the line as we are going to be covering up the middle of the pumpkin with our black electrical tape.
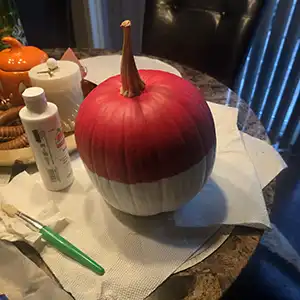
Step 5: Paint the Bottom Half of Pumpkin White
Same as the top half of my Pokemon Ball pumpkin. I used three coats of bright white acrylic paint. I let each coat dry for an hour before applying a new coat. Once all three coats were applied and dried, you can see our pumpkin Pokemon Ball is really starting to look and come together. Again, no need to worry about getting the paint just right in the middle as that is going to be covered up here shortly.
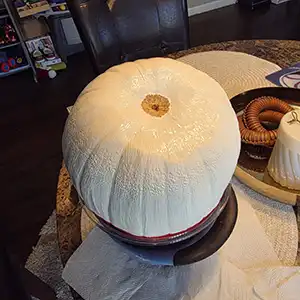
Step 6: Paint the Bottom Side of the Pumpkin White
This part is completely optional but I really wanted that complete finished look, so I decided to paint the bottom side of the pumpkin as well. I also used three coats of bright white paint like the step prior, letting each coat dry for an hour. The tricky part with this was getting the pumpkin to stand up straight without hurting or damaging the stem of the pumpkin. I found an old plastic container that had some cookies in it. I cut a hole in the bottom of the plastic which allowed the stem to stand freely. I then placed that plastic bowl inside of another bowl to hold it up straight. Again, I did not paint over the middle bottom as the pumpkin needs to breath to avoid rotting.
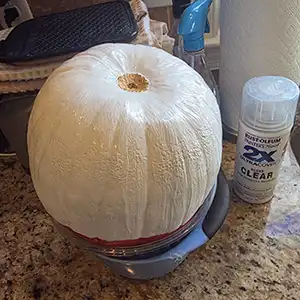
Step 7: Spray Your Glossy Acrylic Sealer to the Bottom of Pumpkin
This step is also optional but recommend if you want that precise finished look of your Pokémon pumpkin. Once all of my white paint dried underneath the pumpkin, I went ahead and sprayed generously a layer of clear glossy acrylic sealer to give it a nice shiny look and lock in my white paint.
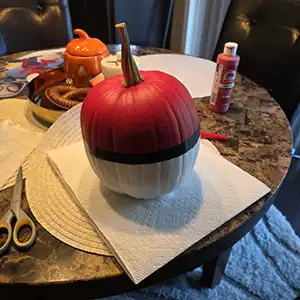
Step 8: Add Your Black Electrical Tape
Once your paint and sealer is completely dry, its time to make our Pokémon pumpkin really come together. I waited 24 hours before adding my electrical tape. I started in the center of where I wanted my circle and button to be. I choose a more flat side of the pumpkin because I want my circle cut outs and button to stick on good once we get to that step. Simply wrap your electrical tape every few inches. While doing so, make sure you are pressing down on the tape to get it stuck. While you are going around the pumpkin, ensure you are sort of stretching the tape as well so it sticks on well. Be careful the tape does not hit the pumpkin on a spot you do not want, as it will rip the paint off your pumpkin. Once fully around, leave about an extra inch of tape overlapping your tape starting point. If you need to touch up any of your paint, this will be your last chance to do so.
Step 9: Spray Your Glossy Acrylic Sealer to the Entire Pumpkin
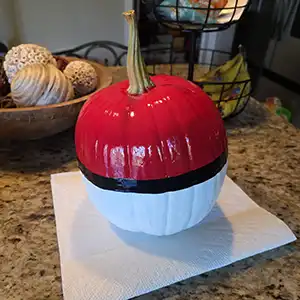
As you can see from the image on the right, the clear glossy acrylic sealer really gives the pumpkin a nice glaze and looks like a delicious red apple. One thing I noticed after I applied the sealer was the electrical tape started to bubble which is very common and happens for two reasons:
- Tension Release: Electrical tape naturally wants to shrink back to its original shape. If it was stretched taut across the vertical grooves of the pumpkin, it will slowly pull back and lift out of the deeper dips, creating air pockets.
- Solvent Reaction: Aerosol clear coats contain strong solvents. As the spray cures, those solvents can temporarily soften the vinyl tape and its adhesive backing, causing it to warp or lift slightly before it hardens.
I waited 24 hours for it to dry and pressed out any bubbles into the grooves to ensure everything stayed in place which it did.
Step 10: Create the Center of Your Pokémon Ball
For this step, I used three circle hole punchers that I found on Amazon. The products I bought were:
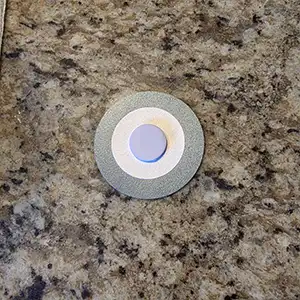
I used the three inch hole puncher for the first layer of the black cardstock. From there, I used the two inch circle hole puncher for the white cardstock and used stick glue to paste them together.
The last circle hole puncher I used was the one inch for the white foamboard to make the button in the center. I used the same glue adhesive to glue on the button to the white cardstock and let it dry for a few minutes. Once it dried, I was ready to place it on my pumpkin for my final step.
Step 11: Attach Your Center Piece to Your Halloween Pokémon Pumpkin
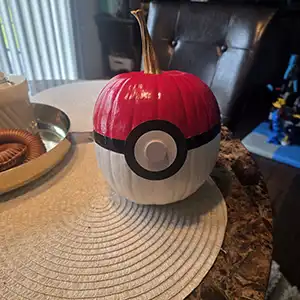
I originally used a glue gun to attach my center piece to the pumpkin. However, after about a day, that center piece started to fall off. The glue became hard so I was able to remove it without damaging my pumpkin or the paint thankfully.
What I did instead was adding a 7/8" circle velcro instead. I stuck the velcro to the back of my center circle piece and the other side of the velcro, right in the middle of the electrical tape and pumpkin. I stuck my center piece on and it looked great. I waited a few days and it did not come off from the pumpkin at all.